 |
Project Diavel Videos
I upload my videos to YouTube. Please if you are interested. If you have other video suggestions, please email me at laz@lulays.com for details.
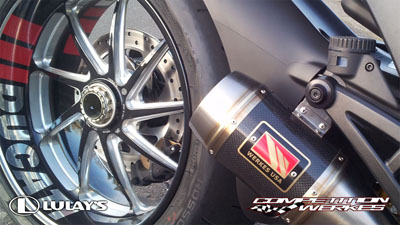
Lulay's Competition Werkes Carbon Exhaust Install on 2013 Ducati Diavel Carbon Red 
This video goes over the basic removal of the stock can and the install of the new Werkes exhaust. You'll see me weigh both to compare and more. You'll see and hear it at the end.
Length - 7:51 minutes
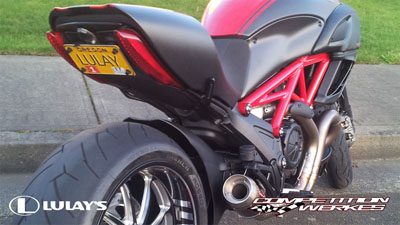
Lulay's Install of Competition Werkes Fender Eliminator on Ducati Diavel 
I looked at the fender eliminators for Diavels and I liked the way the Competition Werkes mount location looks and the way the plate swings out to let you still get to the seat lock. I'm obviously not a professional mechanic, so no warranties are expressed or implied... do your homework, study what you can, and make your own determination. I'm a regular dude with limited tools and ability, and this installation is from that perspective.
Length - 10:37 minutes
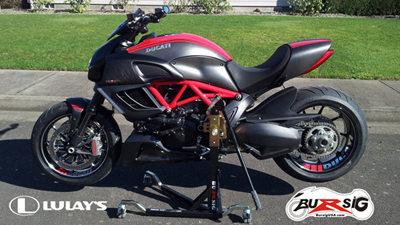
Bursig Center-Lift Stand for Lulay's Ducati Diavel - First Look and Assembly 
I looked all over for a stand that would get the bike up off of both wheels so I could do maintenance and cleaning and the best one I could find was made by Bursig. They are a Germany company that has a distributor in California. I'm in Oregon, so it landed at my house just two days after talking to their sales rep. The stand is great quality and assembly was easy. It took me some time to get it adjusted spot on for my bike, but once I did it mounted quickly and worked great. I really like that I can easily roll it to the sidewalk where I wash my bike. Quick lift and I can easily wash all areas of the bike much easier on the stand.
Length - 7:55 minutes
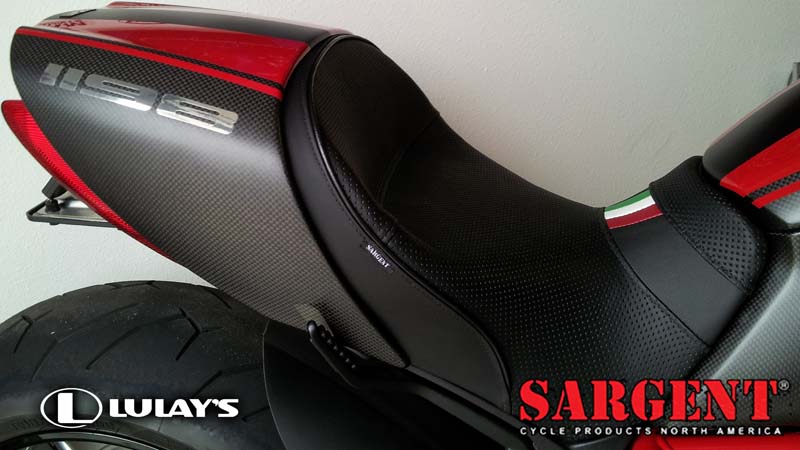
Dual Heated Perforated Leather Sargent Seat: Part 1 - First Look and OEM Comparison 
This video compares the OEM Ducati Diavel seat with Project Diavel's custom Sargent World Sport Performance Seat. You'll see all angles of the seat and a few photos at the end.
Length - 14:57 minutes
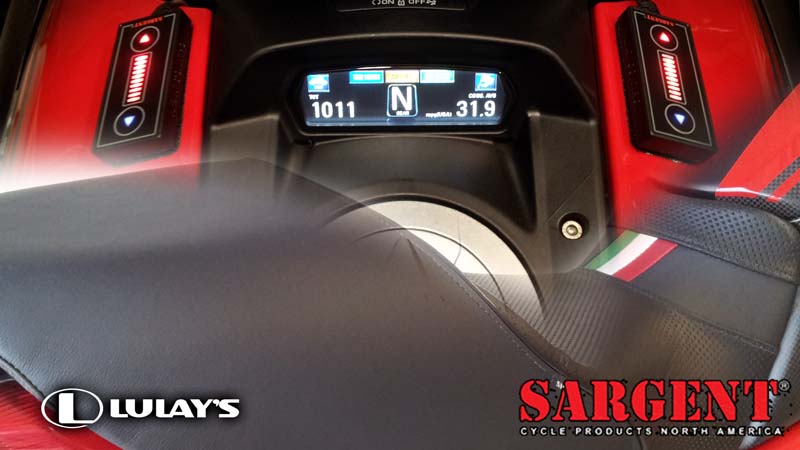
Dual Heated Perforated Leather Sargent Seat: Part 2 - Heat Installation 
If you are considering the heat option, this video shows you what is needed and the steps to do a custom install. Note: this is not an instructional video, just a chance for you to see what/how I did it.
Length - 24:28 minutes
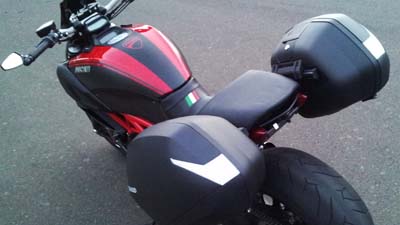
SHAD Hardbags Installation on Ducati Diavel 
This setup is one of the first in the US. I got the bags, mount kit, and carbon fiber inserts. I also have extra inserts that are being color matched Ducati Red to better go with my bike (check back for updates).
Length - 6:03 minutes
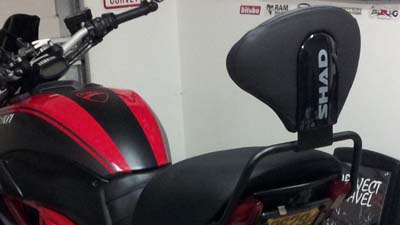
SHAD Backrest Installation on Ducati Diavel 
This is a first look and installation for the SHAD backrest on my Ducati Diavel.
Length - 2:29 minutes
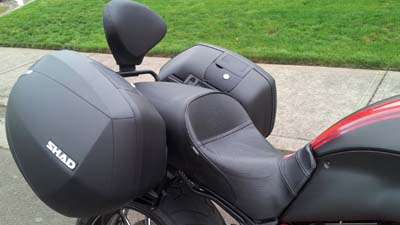
SHAD Hardbags and Backrest on Ducati Diavel 
This is a first detailed look at the SHAD hardbags and backrest on my Ducati Diavel. If you order - mention that you saw the preview on the Project Diavel bike (it should be a good point of reference for them to know that you have a baseline for an opinion before you actually order). -- Length - 3:31 minutes
Ducati Diavel with Luggage Setup including Painted SHAD Covers 
This video shows the removal of the SHAD covers for painting, maintenance, or modifications and then shows the compilation of the package all together assembled on the bike. The photos show the bike with the painted covers and the carbon cover option. -- Length - 2:51 minutes
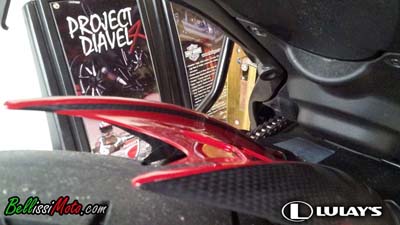
Custom Painted Ducati Performance Hugger 
This video simply shows the hugger after it came back from paint, and then mounted on the bike.
Length - 2:06 minutes
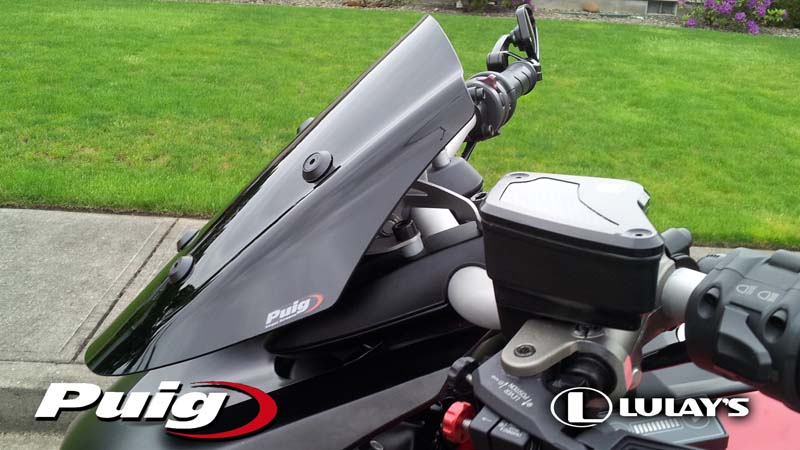
PUIG Adjustable Sport Street Screen for Project Diavel Ducati - Roadster Comparison 
This video shows the Ducati Roadster next to the Puig Sport screen. It shows the screen in lowered and raised comparison. At the end of the video still shots
show a good visual difference.
Length - 5:23 minutes
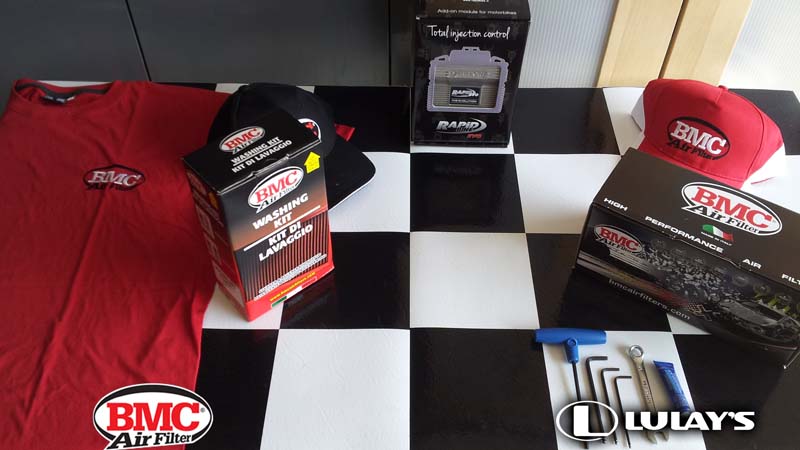
BMC Race Air Filter - First Look and Installation 
There are a few clear potential choices for Diavel aftermarket re-useable air filters. I chose the BMC race filter. The video goes through a quick visual comparison of the BMC filter to the OEM version, and shows the installation of the air filter on the bike.
Length - 10:54 minutes
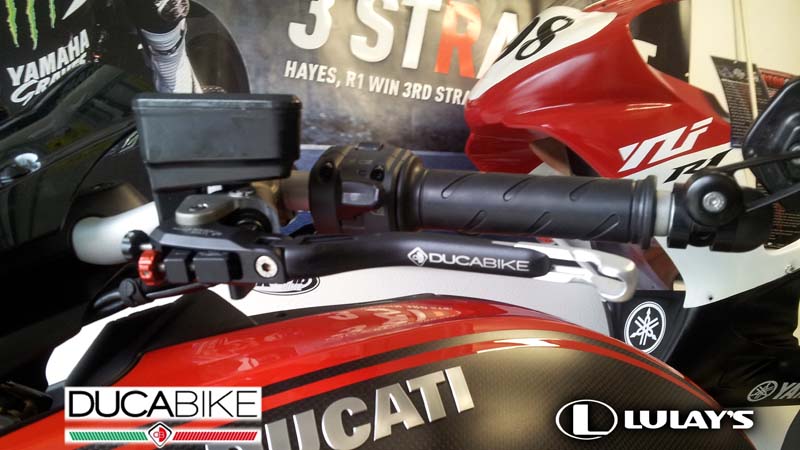
DUBABIKE Evo III Levers Installation 
I looked the world over for the best levers I could find for Project Diavel, and after searching and reading tons of info - I chose DUCABIKE's Evo III levers. See what the packaging looks like, tool requirements, and installation details on the coolest levers out there.
Length - 7:37 minutes
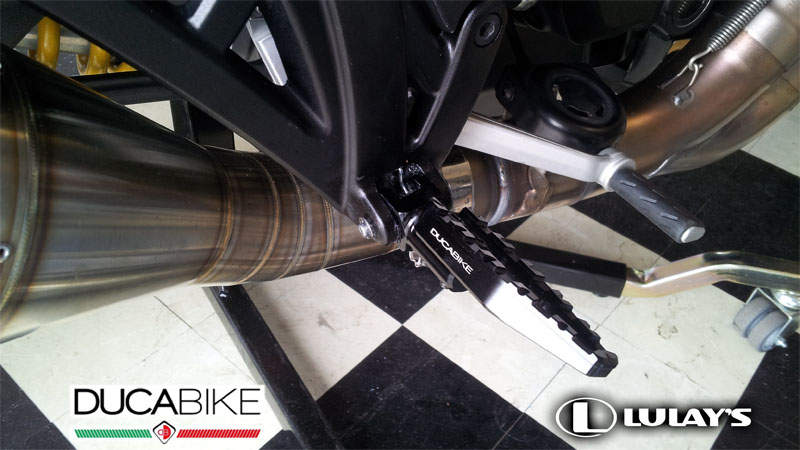
DUBABIKE Rearsets Installation 
I chose DUCABIKE's contrast cut rearsets (PPDV01) to replace my stock peg set. See what the packaging looks like, what tools are required, and installation.
Length - 5:39 minutes
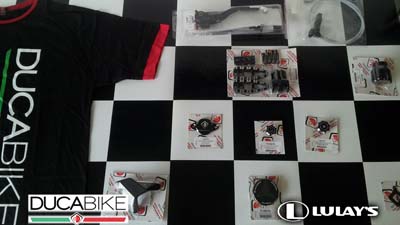
DUBABIKE Billet Part OEM Comparison and Installation 
Trinket Day shows the comparison and installation of the OEM parts with the replacement DUCABIKE billet parts. The trinket list includes DUCABIKE Water Pump Cover (PPA01D), Timing Inspection Cover (CIF01D), Rear Shock Adjuster (PRP01D), Rear Brake Reservoir Cap (TLS07D), Radiator Cap (TA01D), and an Oil Filler Plug (TOO01D).
Length - 8:31 minutes
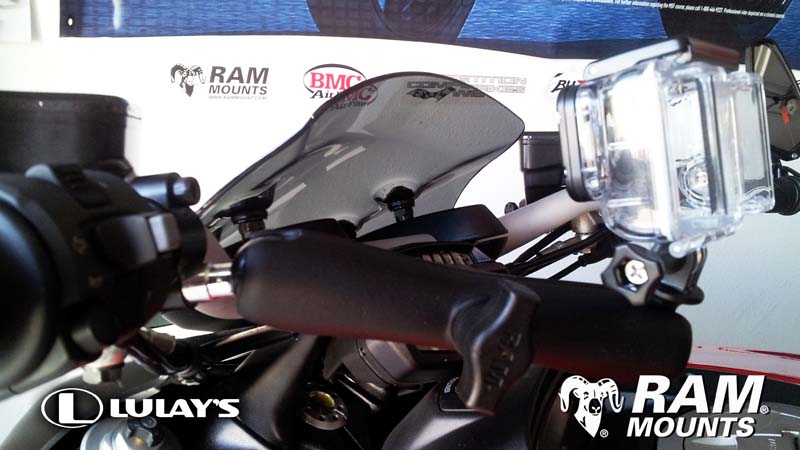
Ram Mount Motorcycle Installation for my GoPro Hero 3 Black 
This is my first experience with Ram Mounts, and wow... I'm a fan. Their stuff is built rock solid. This video just goes over what I bought, where I mounted it, and a quick jaunt view with it on the bike.
Length - 6:36 minutes
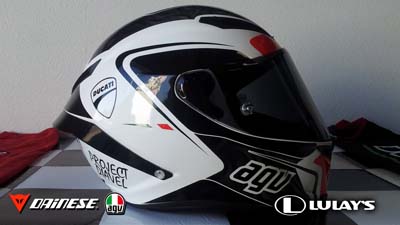
AGV Corsa Circuit Helmet - White version with Custom Decals 
This video gives you a good look at the AGV Corsa Circuit in white (I didn't see many videos on the white version). It also goes over the custom decals the I put on, which included a black decal to better accentuate the clear rear wing.
Length - 6:08 minutes
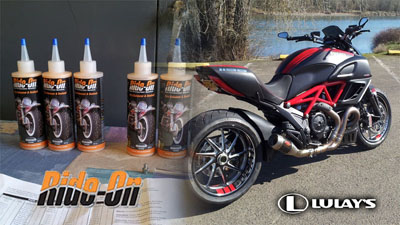
Ride On Tire Sealant Motorcycle Install for Ducati Diavel by Larry Lulay 
This video just documents my installation of Ride-On tire sealant in my Ducati Diavel. I show the tools needed, what I did, and more.
Length - 8:09 minutes

Custom Decals for Ducati Diavel by Larry Lulay 
I looked around for decals for various areas of the Diavel and didn't find any that "did it" for me, so I designed my own. I took them to a professional decal guy I have used many times before and he made and installed them for me. I usually think I can handle putting decals on myself, but there is no way I would have done as good of job as he did and with the speed and accuracy. And I couldn't have installed the center stripe at all because of the way the tank curves in two directions and the stripe behind wide, it kept wanting to curl - and I would have wound up ruining the decal. I could have done the wheels and the numbers, but the wheels definitely would have taken me longer.
Length - 4:00 minutes
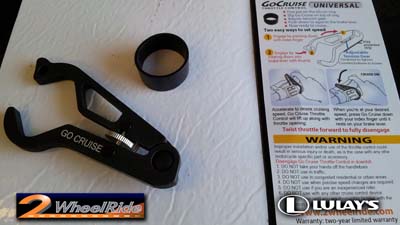
2 Wheel Ride's Go Cruise 2 - Cruise Control for Ducati Diavel 
I've been using throttle locks for years and I went looking for something that would work good with the Diavel, and the new Go Cruise 2 looked like a nice fit. A friend of mine has been using the Go Cruise and he said it was great. This video shows what comes in the Go Cruise 2 package, shows before and after mounting, and how it works.
Length - 5:23 minutes
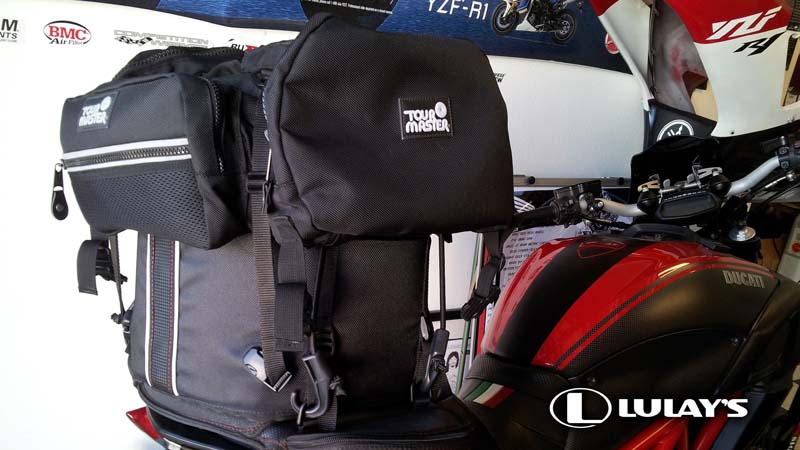
Ducati Diavel Tail Bag with Tourmaster Doubled on Top 
I've been looking for a solution that I liked to solve a problem I had with the limited storage of the Ducati Diavel's tailbag setup. I like their seat mount because it is solid, but the bag doesn't expand like so many of the other tailbags on the market. My Sargent seat doesn't come with attachment loops like a stock seat has, which adds to the dilemma. Today I finally played around with my Tourmaster tailbag and noticed that I could strap it down using the over strap that comes with the Ducati bag, and I can attach the cords to the same mount points. It mounts solid and now gives me enough space that I don't have to try to add a tank bag, or wear a back pack. Opinions will vary, but initial testing looks good. Epico Californiano will let me know how it does.
Length - 3:22 minutes
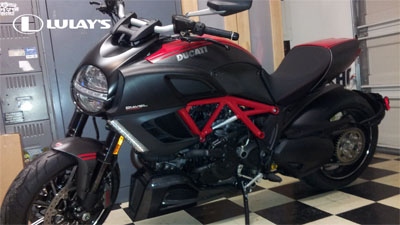
Bought my first Ducati - Diavel Carbon Red 
This video won't be impressive to anybody looking for my normally tricked out stuff. This bike comes pretty nice out of the box. I will do some modifications to it, but mostly plan for this to be my primary commuter bike. I had it delivered 10:30PM on New Years eve.
Length - 2:43 minutes

Motorcycle Garage Tour by Larry Lulay - Diavel and Harley Rocker 
This is just a look around the garage of a guy that's been doing motorcycles for several years. You can see how the apparel is arranged, various stands, two of my bikes, and more.
Length - 4:41 minutes
action videos? See Videos 2
Incoming search: LAZ Designs | Ducati Decals | Diavel Decals | Ducati stickers | Diavel sticker | Lulay Artwork